Engineering Projects
How to Make Home-Made DIY Speakers
Author: Louisa Logan
HOW TO MAKE HOME-MADE DIY SPEAKERS
Song won’t finish because of broken speakers? No cash to buy new, expensive ones? Listen to Beyoncé or any of your favourite artists on your homemade DIY speakers. Yes I’m going to show you how to make your own homemade speakers. Trust me with a bit of effort it can be achieved and your new speakers will cost next to nothing compared to brand new flashy ones!
Follow this step-by-step guide to make your speakers.
Making a speaker can be divided in two phases; one is to make the internal circuitry, the other is the construction of an external cabinet for inclosing the circuit, speakers and making the whole gadget look cool.
PHASE ONE: INTERNAL CIRCUITRY
For internal circuitry you will need the following electronic components.
1. IC LM386
2. 5-15 V DC power supply.
3. 8Ω speaker.
4. Audio input cable.
5. Two 10 Ω resistors.
6. One 1k Ω resistor.
7. One 10k Ω resistor.
8. Two 220µF capacitors.
9. One 10 µF capacitor.
10. 8-pin retention contact.
11. Multipurpose PCB also referred as Vero board.
12. Wires.
Procedure:
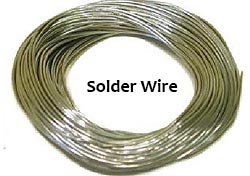
1. Solder circuit on Vero board according to the following schematic diagram using soldering iron and solder wire.
2. Note that instead of IC, 8-pin retention contact is to be soldered, with its left most upper pin representing pin number 1 of LM386 and the rest of the pin numbers are to be counted respectively.


After soldering your final circuit may look something like this:

PHASE TWO: BUILDING CABINET
You will need wood or any other wood based packing sheets and the following equipment:
| 1. Wood drilling machine.
2. Circle jig. 3. Screws. 4. Screw driver. 5. Glue. 6. Saw. 7. Scale. 8. Measuring tape. 9. Marker. 10. Clampers. 11. Covering sheet (of choice). 12. Glue gun. 13. Sand paper. 14. Acoustical foam. |
     |
PROCEDURE:
1. Take a wooden sheet and draw lines on it with marker according to the size of cabinet to be made.

2. Cut four sheets of exactly same size with the help of a saw if a rectangular cabinet is desired.
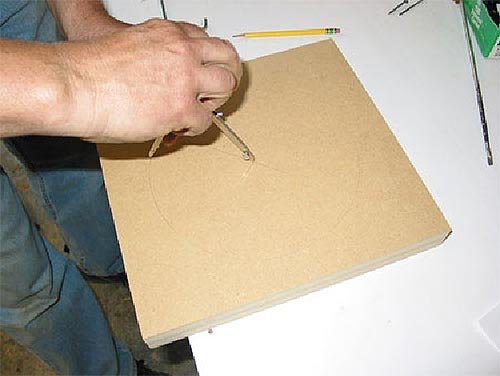
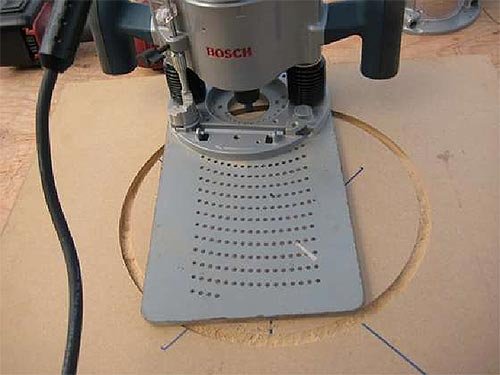
3. Make circular hole by using circular jig on the sheet that will be the front of the cabinet according to the size of the speaker to be fitted in it.
4. Drill holes at the rear part of cabinet for outlet of wires.
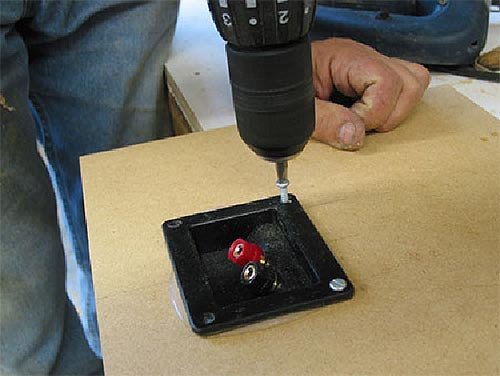
5. Cut small wooden pieces to make support at the edges of the cabinet.

6. Glue the front and sideways cabinet parts together and use clampers to hold them together until the glue dries.
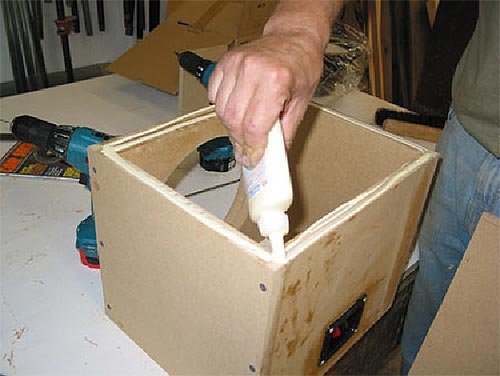
7. Now glue the small wooden pieces at edges to provide support to the structure.

8. Use sand paper to clean any overflowing glue from corners of cabinet.
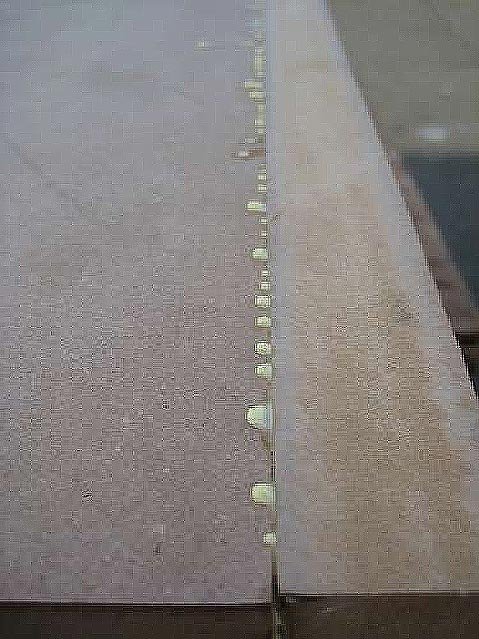
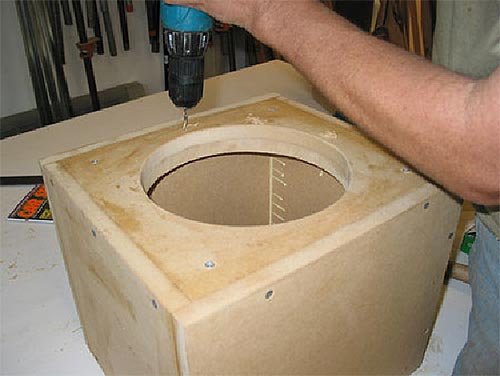
9. Drill holes at the front of the cabinet and fix speakers using screws.
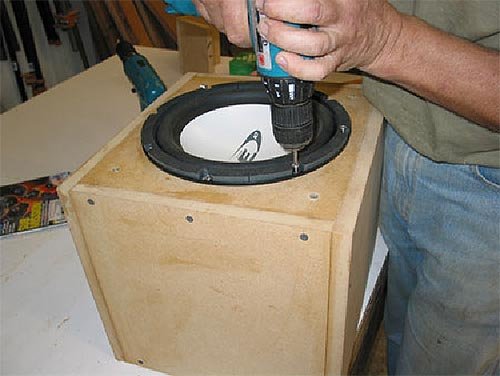
10. Now take a glue gun and use it to glue circuit board inside the cabinet. After that pass the input wires through the holes in the back part and glue the back part to the cabinet. Repeat cleaning process using sand paper. Clamp the back end too and let the glue dry.

11. Use acoustical foam or polyester fill to stuff the empty spaces up.

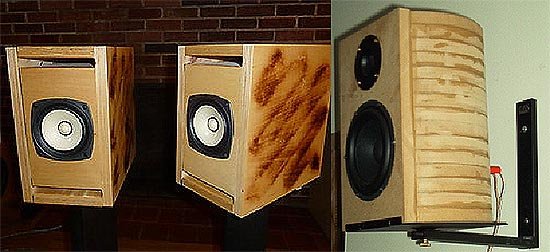
12. Last part of the process is covering and decorating the speakers. That’s all up to you and your aesthetic sense.
Precautions:
1. Be careful while using saw, circle jig, drill etc. as they have cutting edges and can cause damage.
2. Use hand gloves and goggles.
3. Don’t let glue touch naked parts of skin (Nuisance to remove).
Louisa Logan works for Premier Farnell Element 14, an electronic component distributor
that sells brands like
Vishay, Molex and
Microchip. In her spare time she enjoys working on
projects of her own and loves making things for her
home.
